November 14, 2026 • 2 min read • Verticlab Team
New Feature: Object Photos
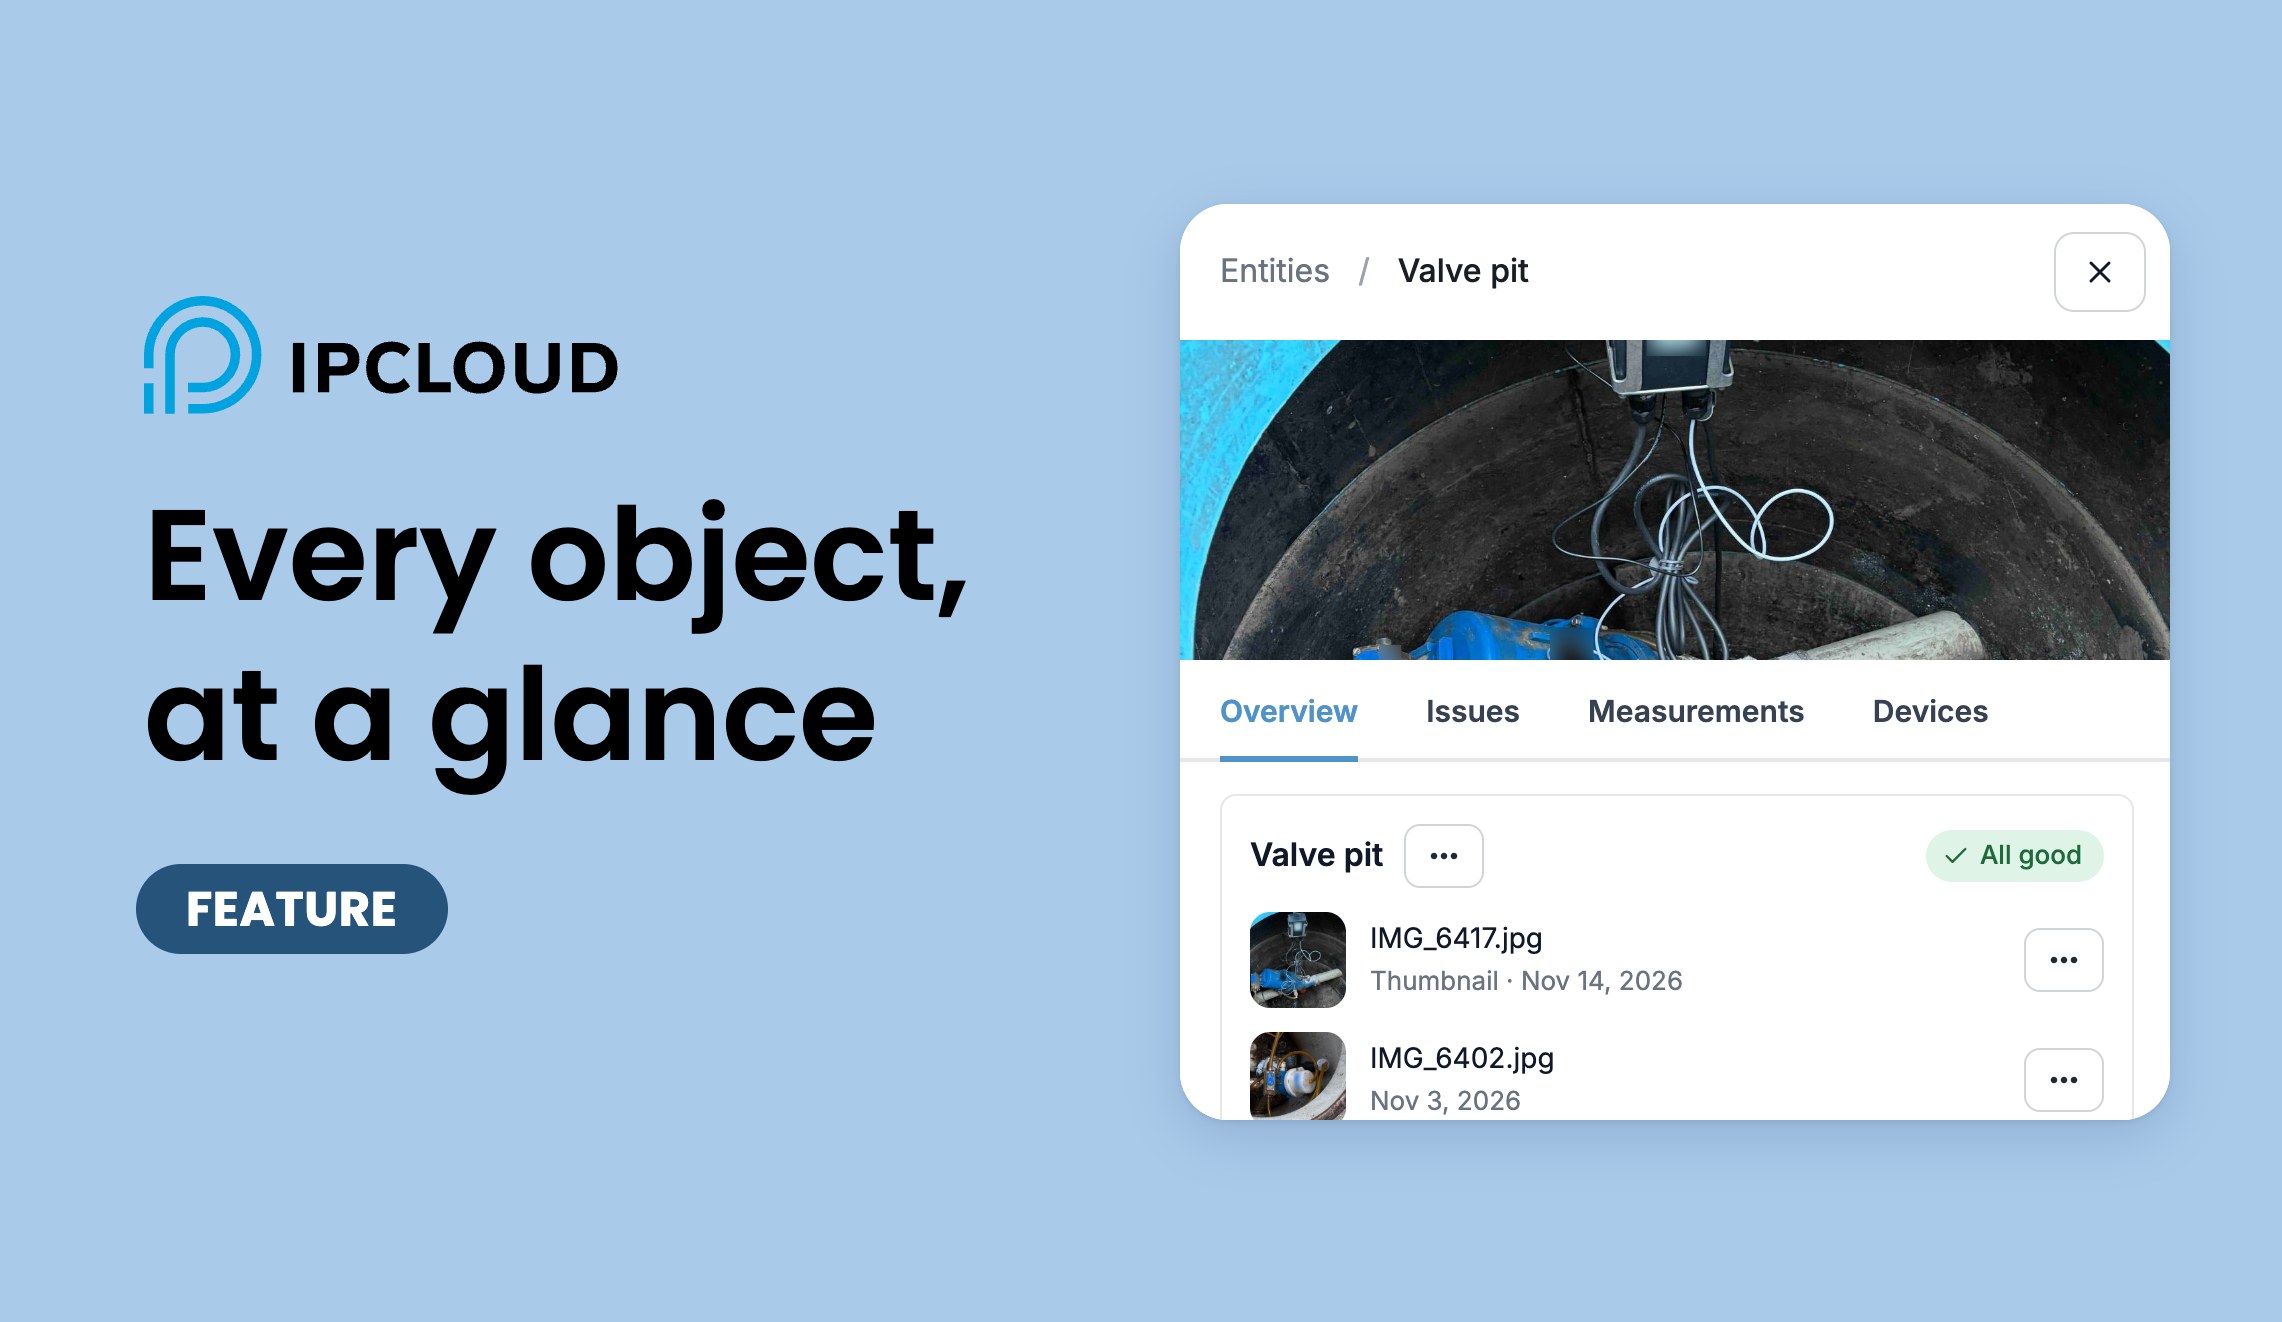
IPCLOUD now lets you add photos to any object in the web app, so the documentation of each site is in one place.
Why it matters
Photos of objects are usually scattered across phone galleries and messages. A technician arriving at a shaft often does not know what to expect, and photos kept on one person's phone do not help the next colleague. In IPCLOUD the photos stay with the object, where the team already looks for its data.
How to add photos
- Open the object from the map or the list, so its detail opens with the tabs Overview, Issues, Measurements and Devices.
- On the object card, open the three-dots menu and choose Add photos.
- Choose one or more images (JPEG, PNG or WebP) in the dialog. They appear under the object as rows with a preview, the file name and the date.
Adding photos requires edit rights.

Set the title photo
- Open the three-dots menu at the end of a photo row.
- Choose Set as thumbnail. The row is marked Thumbnail, and the photo appears across the top of the object detail, above the tabs. It is the first thing you see when you open the object, so choose the photo that shows it best.
To remove the title photo, choose Remove thumbnail in the same menu.

View and delete photos
Click a preview to open the photo in a large view. The view shows the file name as its title, and the close button at the right returns you to the object. To remove a photo, choose Delete photo in the row menu and confirm. Users with read-only access can view photos but cannot change them.
What you get
- Context next to the data: photos are kept with the object, on the same page as its data.
- A recognizable object: the title photo shows the object at the top of its detail.
Getting started
Open any object in the web app and add its first photos from the three-dots menu on its card. Start with what a technician needs most: the surroundings, the cover and the installation. Photos are visible to the users of the project. Questions? Contact us.